
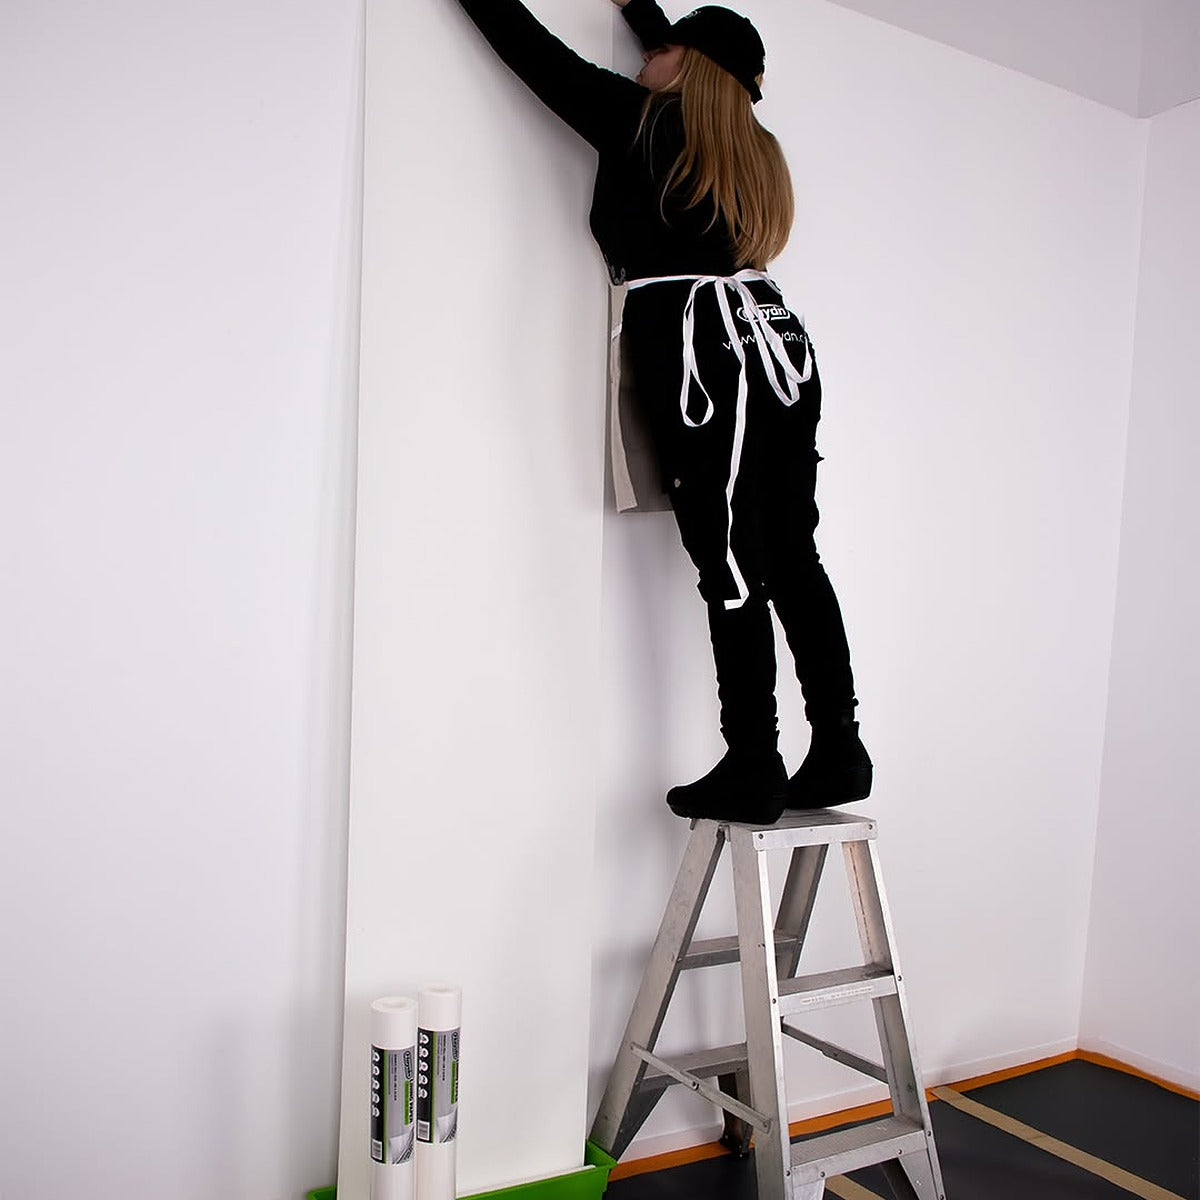
A great paint finish starts long before the first coat goes on. If your walls have hairline cracks, pitting, uneven plaster, or minor surface imperfections, simply painting over them can sometimes make those flaws even more noticeable.
That’s where Haydn Lining Paper can make a real difference.
Lining paper provides a smooth, uniform surface that helps disguise minor imperfections and creates a better base for your chosen paint finish. It’s particularly useful when renovating older walls or preparing surfaces that aren't quite as smooth as you'd like.
Why Use Lining Paper Before Painting?
Using lining paper can help:
- Disguise hairline cracks and minor imperfections
- Reduce the appearance of pitting and uneven plaster
- Create a flatter, more uniform surface
- Provide a better base for your paint finish
- Help achieve a more professional-looking result when renovating
- It’s a relatively small step in the preparation process that can make a noticeable difference to the finished wall.
 How to Use Paste-the-Wall Lining Paper
1. Prepare the wall
Start with a clean, dry and sound surface. Remove loose or flaking material and fill larger cracks, holes or imperfections. Lightly sand rough areas and remove dust before you begin.
2. Measure and cut
Measure the height of the wall and cut your lining paper into manageable lengths. Allow a little extra at the top and bottom so you can trim neatly once the paper is in position.
3. Apply the adhesive
Haydn Lining Paper is designed for a Paste-the-Wall application, meaning the adhesive is applied directly to the wall rather than to the paper. Work in manageable sections so the adhesive remains workable while you hang each length.
4. Hang the lining paper
Carefully position the first length and smooth it onto the wall, working from the centre outwards to remove air bubbles and wrinkles. Take your time getting the first length straight, as this will help the rest of the wall line up correctly.
For subsequent lengths, carefully butt the edges together rather than overlapping them.
5. Trim the edges
Once the paper is securely positioned, carefully trim the excess around ceilings, skirting boards, corners, windows and doors for a neat finish.
6. Allow it to dry completely
Don't rush this stage. Allow the lining paper to dry thoroughly before moving on to painting. Once dry, check the surface and lightly sand any small imperfections if required.
7. Paint your finished surface
Once you're happy with the surface, you're ready for your chosen paint system. The result should be a flatter, cleaner base that helps your topcoat look its best.
Pro Tip: Don't Skip the Preparation
Lining paper can help disguise minor imperfections, but it isn't a substitute for proper surface preparation. The better the wall is prepared before you start, the better your finished result will be.
Take the time to fill major cracks, smooth rough areas and remove loose material before applying the lining paper. A little extra preparation now can save a lot of frustration later.
Ready for a Smoother Finish?
If you're renovating, redecorating or simply want a cleaner-looking paint finish, Haydn Lining Paper is a smart addition to your preparation toolkit.
Shop Haydn Lining Paper at Garage Workshop Solutions